How to Take Professional Headshot Photos with Phone (2024)
In the age of remote work, professional headshots play a crucial role in leaving a positive online impression. This article provides a comprehensive guide on creating DIY professional headshots using your iPhone or any high-end smartphone. Discover how you can capture impressive headshots at home without the need for a complex office setup or professional lighting. While studio quality may not be achievable, these tips will elevate your headshots above standard selfies and low-quality LinkedIn images. Additionally, the guide explores how remote professional editing services can take your smartphone headshots to the next level.
6 easy steps to capturing professional headshots at home
1. DIY professional headshot shoot prep
What to Wear: opt for a collared shirt or slightly more formal attire than casual wear. Choose outfits that contrast well with your background for a classic professional look.
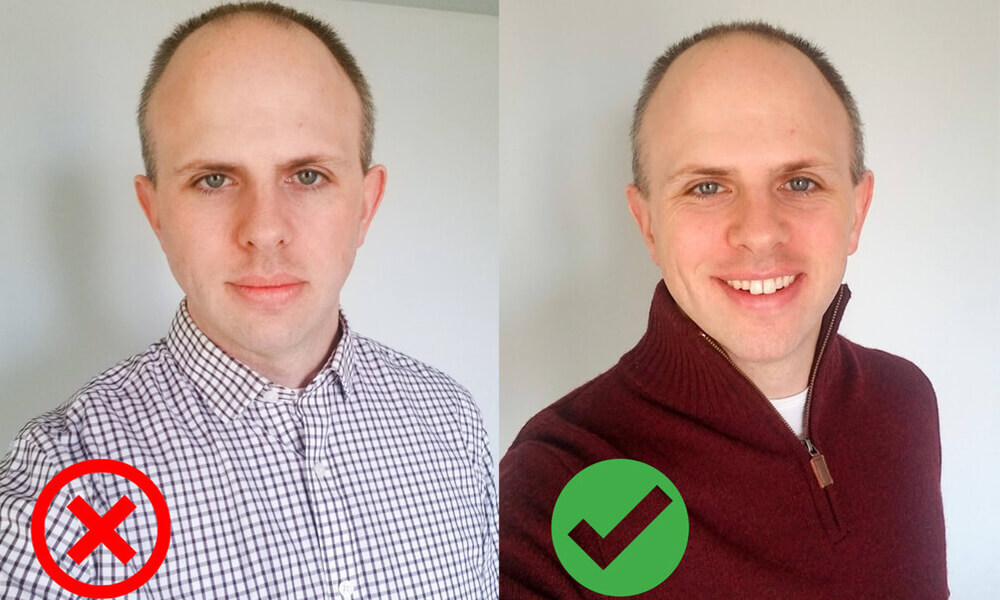
How to Style Hair: Tame stray hairs and experiment with different styles to achieve a polished appearance.

Makeup: Keep makeup simple and natural, similar to what you would wear to a business meeting.
Jewellery: Keep it minimal and understated to avoid distractions in the headshot.
Glasses: Avoid glasses with noticeable glare to maintain clear and focused eyes in the photo.
Skin Prep: Minimize shine on oily skin before the headshot session for a polished appearance.
Facial Hair: Shave the night before the photo to avoid razor bumps and skin irritation.
2. Optimizing home lighting for pro headshots
- Ideal Lighting: Use diffused sunlight or reflected light from a large white wall for even illumination.
- Avoid Direct Sunlight: Direct sunlight can cause discomfort and create harsh shadow
- Window Lighting: Position yourself near a spacious window, facing it directly for the best lighting.
- Indoor Lighting: Turn off overhead lights to avoid unwanted yellow skin tones.
- Find the Perfect Balance: Experiment with different windows and times of day to achieve flattering lighting.
3. Phone Height and Angle
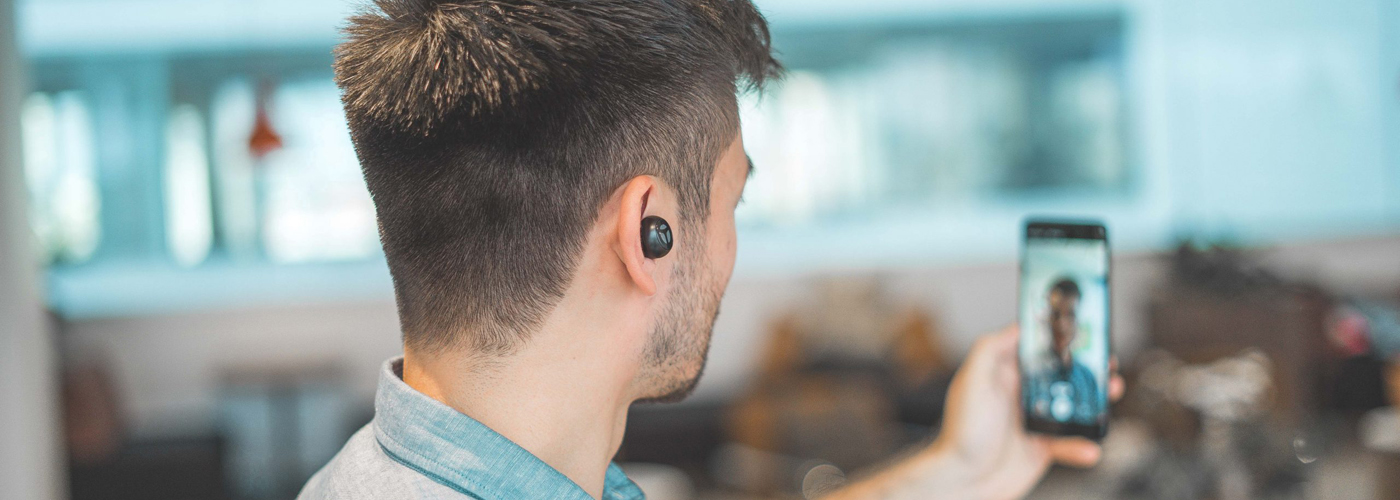
- Phone Height: Position the phone at eye level or slightly raised to the top of your forehead for the most flattering angle.
- Phone Angle: Tilt the phone slightly downwards to avoid distortion of facial features.

4. Expressions
- Experiment with Different Expressions: Try genuine smiles, closed smiles, and neutral expressions to find the best look.
- The Impact of Smiling: Smiling enhances likability, competence, and influence in professional photos.
5. Tips and techniques for striking posing
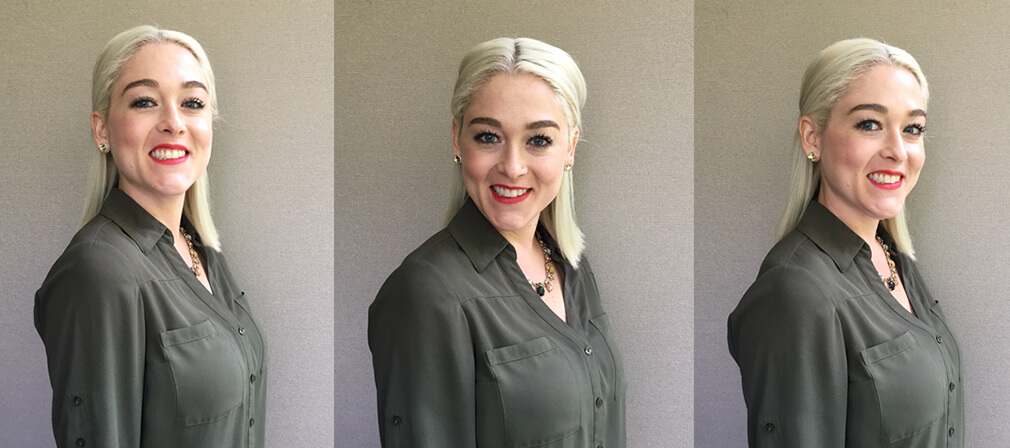
- Maintain a straight back and pull your shoulders back for a flattering posture.
- Avoid standing flat-footed or shifting weight onto your back foot to prevent emphasizing the chin.
- Capture photos from your preferred side of the face for a more appealing angle.
- Experiment with different hand positions or classic straight-down poses for added style.
6. A Comprehensive Checklist for Professional Results
- Ensure proper focus and clean camera lenses for sharp and clear images.
- Allow ample space on both sides of the photo, leaving room for the shoulders and top of the head.
- Assess lighting conditions and avoid harsh shadows on the face.
- Check the overall appearance, collars, jewelry, and hair for a presentable look.
- Evaluate the angle of the photo for a flattering and professional composition.
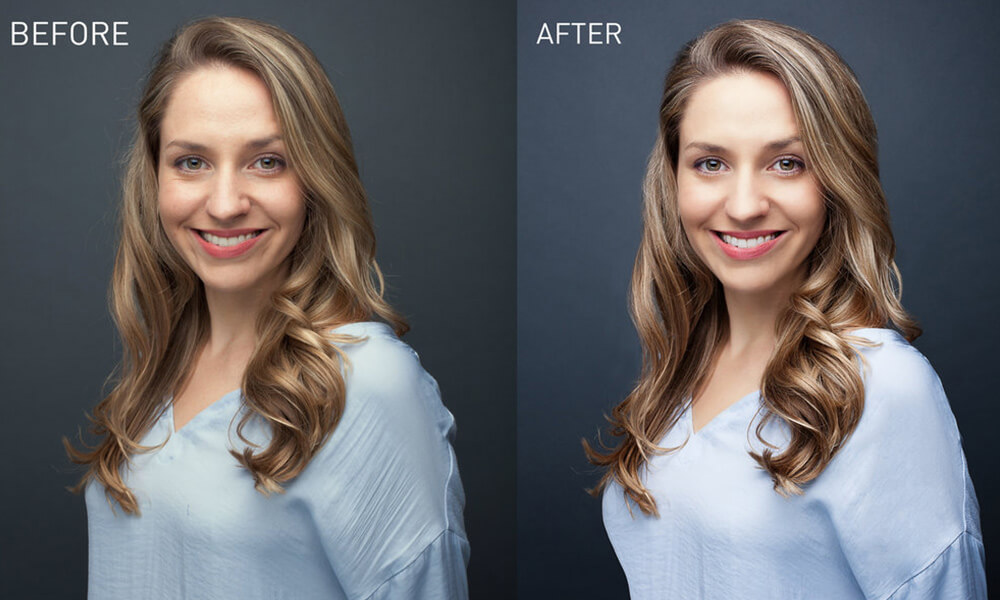
Elevate Your Smartphone Headshot with Professional Editing for a Polished Look
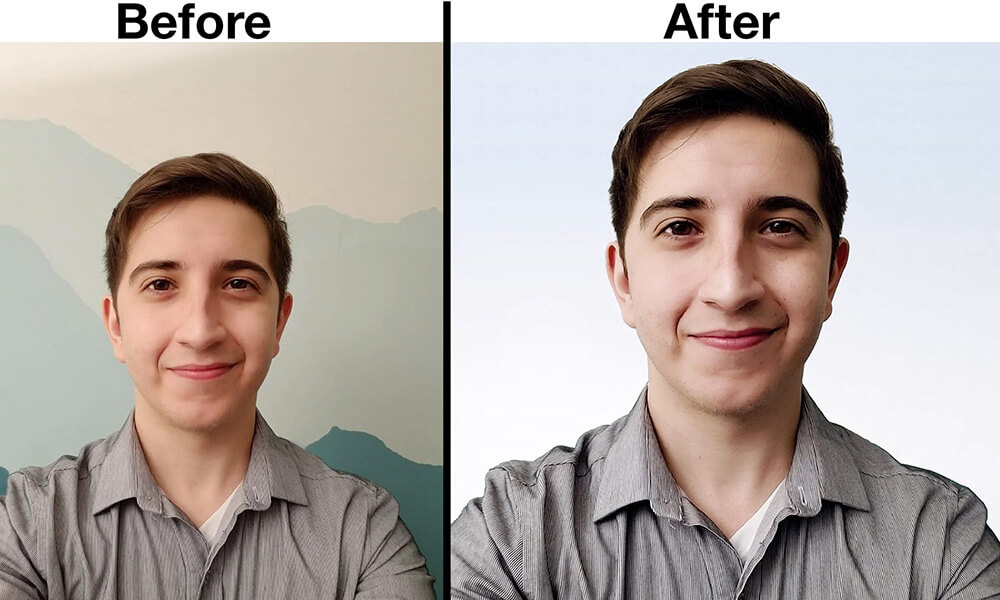
Headshots Inc’s Virtual Headshot Packages offer an affordable solution to transform your DIY headshot into a polished masterpiece. Our expert team enhances your image to radiate professionalism and captivate viewers. With meticulous retouching, background replacement, and optimization of contrast and lighting, your headshot will stand out in the professional realm. Enjoy a swift turnaround time and a 100% Satisfaction Guarantee for complete peace of mind. Elevate your professional image with Headshots Inc and leave a lasting impression.

