How to Take Your Professional Headshot (DIY)
In situations where time and budget constraints prevent you from hiring a professional photographer, you might wonder if you can take your captivating headshot that exudes likability, competence, and influence. The answer is a resounding yes! With a few simple steps, you can achieve a professional headshot that leaves a lasting impression.
Table of Content
- The Importance of a Stellar Headshot
- 5-Step Guide to Capturing a Professional Headshot
- Utilizing an Existing Photo for Your Headshot
- Dressing for Success: What to Wear for a Professional Headshot
The Importance of a Stellar Headshot:
In today’s digital world, a compelling headshot holds immense importance as it leaves a strong impression on anyone encountering it, be it on LinkedIn, personal websites, or professional networking platforms. Acting as the primary point of contact with potential employers, clients, or collaborators, your headshot assumes the role of visually representing your brand, effectively exhibiting traits such as professionalism, approachability, and confidence. To ensure that your headshot gains visibility and stands out among the competition, it is crucial to consider essential elements such as professionalism, approachability, confident demeanor, a simple and clean background, optimal lighting, well-balanced composition, high-resolution image quality, consistent branding, and the expertise of a professional photographer. By incorporating these factors, your headshot will not only captivate viewers but also enhance your online presence, facilitating more meaningful connections and engagements.
Engaging Eye Contact:
Establishing a connection with your audience through confident and captivating eye contact is vital. Your eyes can convey sincerity and trust, making viewers feel more comfortable and drawn to your profile.
Master the “Squinch”:
The “squinching” technique involves slightly narrowing your eyes but not fully closing them. This adds depth and intrigue to your gaze, exuding an air of confidence and allure.
Radiate with a Smile or Laugh:
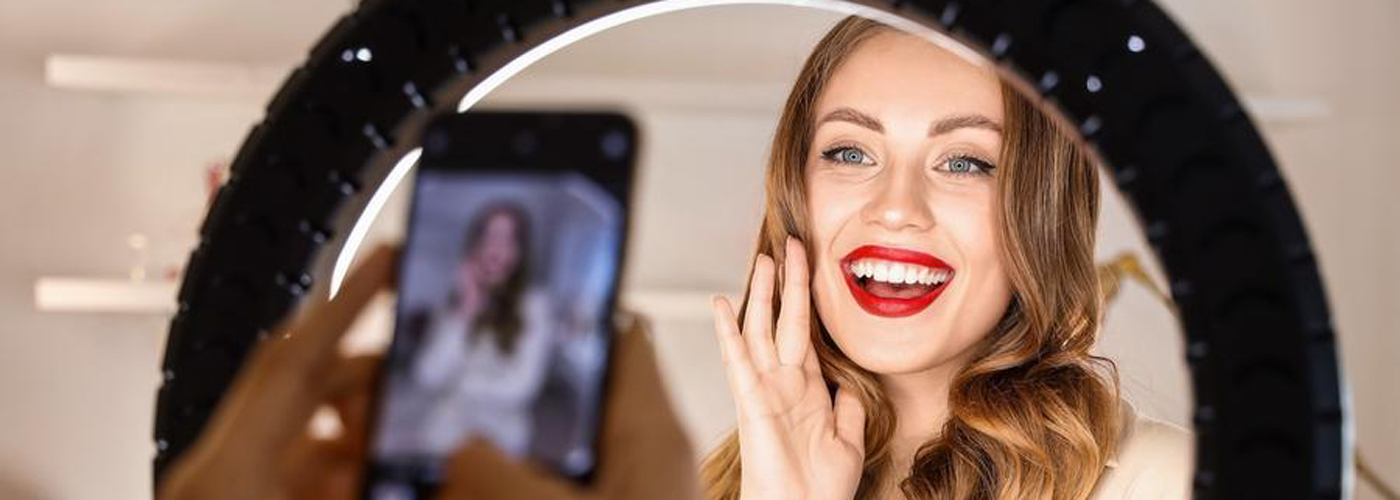
A warm smile or a genuine laugh can enhance your headshot, making it more approachable and inviting. A positive expression can leave a lasting impression on those viewing your photo.
5-Step Guide to Capturing a Professional Headshot:
Now, let’s delve into the process of capturing a stunning headshot that reflects your professionalism and personality.
Step 1: Enlist a Friend’s Assistance (or Embrace the Self-Timer):
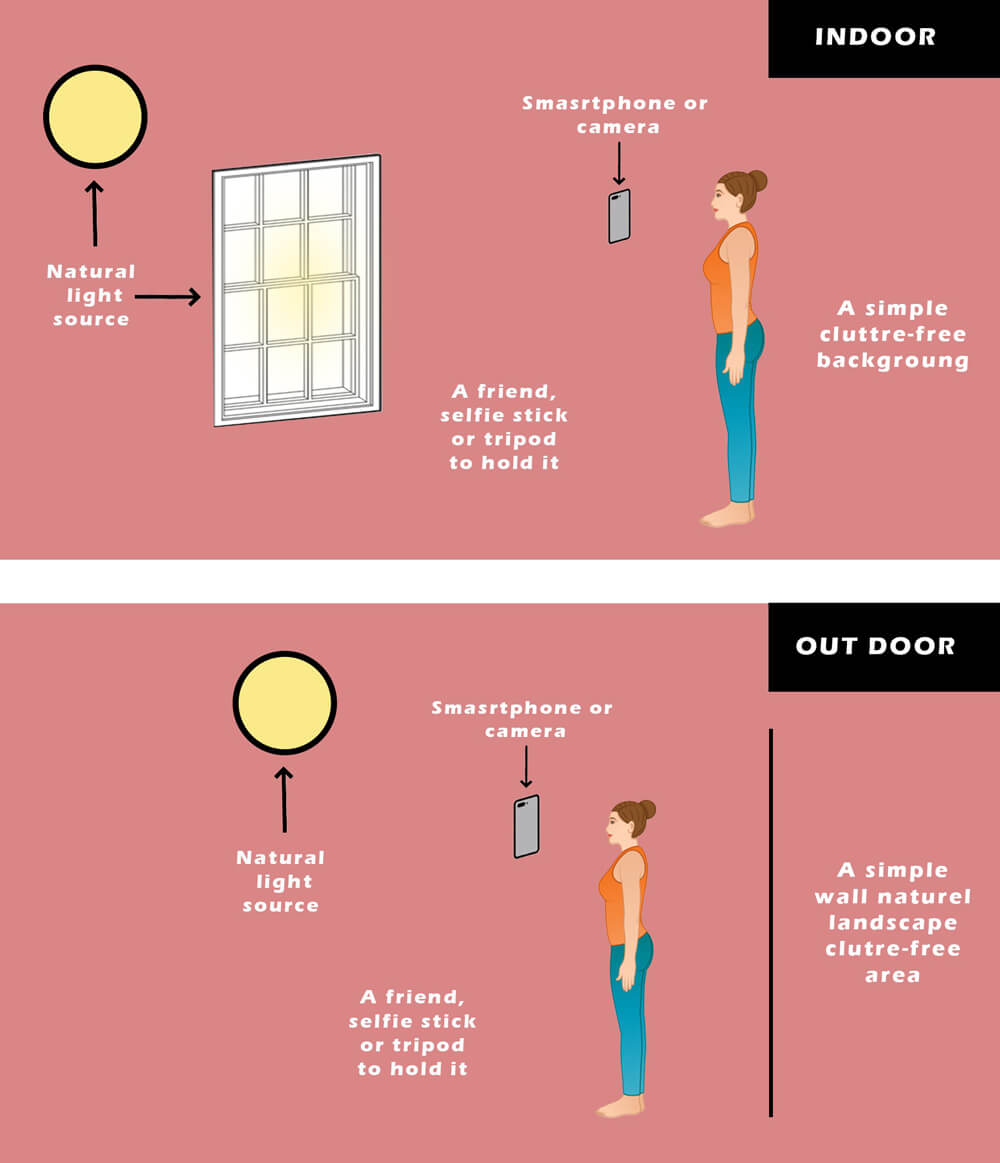
Ideally, team up with a friend who also needs a headshot. You can take turns capturing each other’s photos, ensuring a supportive and collaborative environment. In case of unavailability, set up a tripod or improvise one using books to utilize your phone’s self-timer function. Avoid resorting to a selfie, as it may not provide the desired professional result.
Step 2: Position the Camera Near a Natural Light Source:
Choose a well-lit wall near a window to benefit from soft, flattering illumination. Direct sunlight can create harsh glares, so opt for a bright, cloudy day when sunlight is diffused, providing a 360-degree soft light.
Step 3: Choose a Neutral Background:
Select a plain or brick wall or any simple setting that keeps the focus solely on your face. Before taking the shot, ensure there are no distracting cords or clutter in the background that might divert attention.
Step 4: Capture Multiple Images with Different Outfits:
Allocate sufficient time for the photo session, allowing you to experiment with different outfit options. Prepare multiple outfits and ask your friend to utilize burst mode on an iPhone or take multiple shots. Experiment with various poses and expressions to find the perfect one.
Step 5: Edit and Crop with a Photo Editing Program:
Avoid relying on heavy filters and excessive editing, which can distort your appearance. Instead, use a dedicated photo editing app like VSCO to make minor adjustments, enhance brightness if needed, and ensure proper cropping.
Utilizing an Existing Photo for Your Headshot:
If you have a suitable existing photo, you may be able to repurpose it for your headshot. However, consider the following factors:
Highlight Your Face with an Appropriate Background:
Choose a photo taken by someone else, avoiding cropped group photos or selfies. Professional headshots should focus solely on you.
Steer Clear of Filters:
Aim for clear, natural lighting in your photos, avoiding heavy filter usage.
Ensure Your Face is Visible:
Face the camera directly without any obstructions, such as hair covering your face. The photo should accurately represent your appearance, just as you would present yourself in an interview or professional setting.
Opt for a Large-Format Image:
Ensure your chosen photo has an appropriate resolution, preferably 150 dpi, to avoid distortion when uploaded to various platforms. Follow platform-specific image size recommendations for optimal display.
Dressing for Success: What to Wear for a Professional Headshot:
Your attire plays a significant role in creating a polished and professional look. Follow these guidelines:
Stick to Solid, Muted Colors:
Patterns can be distracting, so opt for solid, muted colors that complement your skin tone.
Choose Garments with Sleeves:
Outfits with sleeves tend to appear more professional and refined.
Consider Layering with a Blazer:
A blazer can add a touch of sophistication to your look, enhancing your professional image.
Keep Jewelry Minimal:
Direct attention towards your face by keeping jewelry minimal and subtle.
Opt for Timeless and Classic Choices:
Avoid trends and opt for timeless clothing that won’t date your headshot.
By following these guidelines and tips, you can capture a remarkable DIY professional headshot that enhances your brand, leaving a positive and lasting impression on your audience. Remember to be confident, authentic, and approachable, as your headshot is a powerful tool in conveying your professional identity.

